


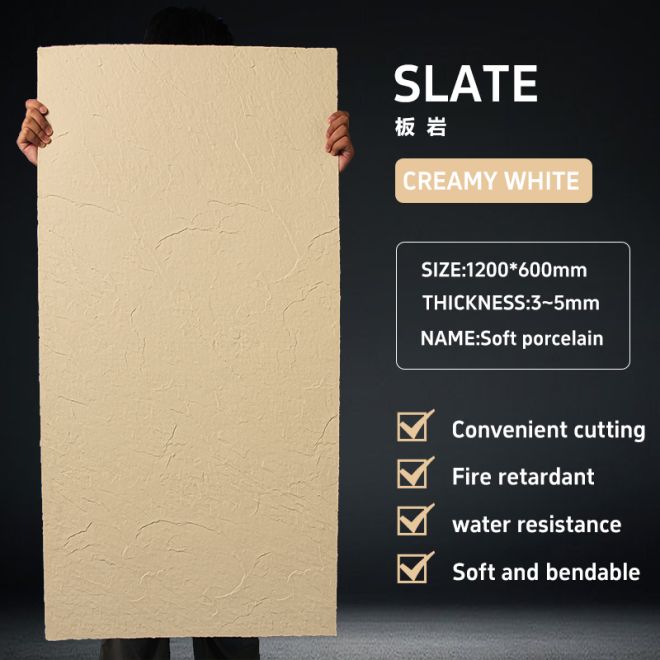
Your roof research has turned into a rabbit hole of “hard vs soft,” “natural vs synthetic,” and about 47 tabs on slate tiles. You just wanted a beautiful, leak‑free roof, not a surprise geology degree.
This complete soft slate roofing guide breaks everything into simple steps—from design choices to proper installation—so you can talk confidently with your contractor and avoid costly mistakes, backed by standards like EN 12326 for roofing slate performance (see study).
🏠 Overview of soft slate roofing benefits, limitations, and ideal applications
Soft slate roofing offers natural beauty, flexible cutting, and lighter weight than hard slate. It suits complex roof shapes and delivers a refined, classic look.
It may wear faster in harsh climates, but proper design and skilled installation extend service life and protect your investment in premium SLATE STONE materials.
1. Key benefits of soft slate roofing
Soft slate is easier to shape, reduces breakage during installation, and adapts well to curves, turrets, and dormers without losing weather protection.
- Lightweight compared with hard slate
- Good impact resistance when correctly supported
- Warm, natural color range from SLATE WHITE to deep greys
2. Main limitations to consider
Soft slate can be more porous and may delaminate sooner than dense, hard slate if exposed to freeze–thaw cycles or standing water.
| Issue | Impact | Mitigation |
|---|---|---|
| Weathering | Surface flaking | Choose quality grade |
| Foot traffic | Cracks | Use walk boards |
3. Ideal project types and climates
Soft slate works well on custom homes, heritage projects, and light‑commercial roofs with simple drainage and moderate climates.
- Slopes above 4:12 for quick runoff
- Regions with limited freeze–thaw stress
- Designs needing flexible slate shaping
4. Design styles and color coordination
Use soft slate to support modern, traditional, or rustic styles. Pair it with brick, timber, or metal details for contrast and balance.
- Monochrome: match roof and trim tones
- Contrast: dark roof, light walls
- Soft accents: use SLATE LIGHT GREY near skylights
📐 Design principles: roof pitch, layout patterns, and drainage considerations
Good soft slate design starts with proper pitch, clear water paths, and a layout pattern that avoids small cuts and awkward overlaps.
Plan eaves, hips, valleys, and penetrations early, then confirm courses, headlaps, and flashing details before any slate is delivered to site.
1. Roof pitch and exposure rules
Match slate exposure to pitch to prevent wind‑driven rain entering under the tiles and to improve drainage speed across the surface.
| Pitch | Typical Exposure |
|---|---|
| 4:12–5:12 | Shorter exposure |
| 6:12–8:12 | Standard exposure |
| 9:12+ | Longer exposure |
2. Layout patterns for aesthetics and performance
Use straight, broken‑bond, or random‑width layouts to control visual effect while keeping headlaps and side laps within manufacturer guidelines.
- Straight courses for modern lines
- Broken bond to hide joint runs
- Random widths for rustic charm
3. Drainage paths, valleys, and penetrations
Plan valleys, gutters, and roof penetrations so water leaves the surface fast and never sits behind slate or flashing steps.
- Use open metal valleys on heavy flow areas
- Upsize downpipes where trees shed leaves
- Flash chimneys with step and counter flashings
4. Wind, snow, and local code checks
Confirm local codes for wind uplift, snow load, and ice dam rules before finalizing slate thickness, fixings, and underlayment system.
| Condition | Design Response |
|---|---|
| High wind | Extra nails, clips |
| Snow | Stronger deck, snow guards |
| Ice dams | Extended ice‑barrier |
🧱 Substrate preparation, underlayment choices, and fixing methods for soft slate
Soft slate needs a sound deck, reliable underlayment, and fixings that support the stone without crushing or over‑tightening.
1. Deck and substrate preparation
Inspect the structure, replace rotten boards, and ensure a flat, clean deck. Gaps or dips can crack soft slate during fastening.
- Use exterior‑grade plywood or boards
- Check rafter spacing and deflection
- Install drip edges before underlayment
2. Underlayment and ice‑barrier selection
Select felt, synthetic, or self‑adhered membranes based on climate, slope, and code. Overlap layers to direct water toward gutters.
| Type | Best Use |
|---|---|
| Felt | Mild climates |
| Synthetic | Steep slopes, warmer zones |
| Self‑adhered | Ice‑prone eaves |
3. Fixings: nails, screws, and clips
Use corrosion‑resistant copper or stainless fasteners, driven snug but not tight, so soft slate can move slightly without breaking.
- Two nails per slate as a minimum
- Use hooks or clips in high‑wind areas
- Avoid gun‑nailing to prevent cracks
🛠 Step‑by‑step soft slate installation process, from layout marking to fastening
A clear step‑by‑step process helps teams install soft slate safely, with consistent joints, courses, and long‑term water performance.
1. Setting out: reference lines and starter course
Snap horizontal and vertical chalk lines, then install the starter course with correct overhang to shield fascia and support gutters.
- Mark eave, ridge, and valley lines
- Confirm exposure before starting
- Double‑course at eaves where needed
2. Laying main field courses
Work from eave to ridge, staggering joints. Keep side laps within limits and replace any damaged pieces before moving upward.
| Check | Target |
|---|---|
| Side lap | 50–75 mm minimum |
| Headlap | 75–100 mm or as rated |
| Joint alignment | No continuous lines |
3. Detailing hips, ridges, and flashings
Finish hips and ridges with preformed caps or cut slates. Fit metal flashings tight, then test for gaps before final clean‑down.
- Use breathable ridge vents where allowed
- Seal overlaps in line with code
- Brush off dust and offcuts
🔍 Quality inspection, common installation mistakes, and long‑term maintenance guidelines
Regular checks, smart detailing, and simple maintenance keep soft slate roofs safe, attractive, and watertight for many decades.
1. Post‑installation quality inspection
Inspect alignment, fixings, flashing laps, and penetrations. Look for cracked or rocking slates and correct them before handover.
- Walk only on boards laid on slate
- Confirm valley and ridge tightness
- Photograph key details for records
2. Avoiding common installation mistakes
Frequent errors include low headlap, tight nails, missing underlayment at eaves, and poor sealing around chimneys or skylights.
| Mistake | Result |
|---|---|
| Under‑driven laps | Leaks in storms |
| Over‑nailed slates | Cracking over time |
| No ice‑barrier | Ice‑dam damage |
3. Maintenance and repair best practices
Inspect the roof at least once a year, clean gutters, and quickly replace broken or slipped slates using compatible materials.
- Avoid pressure washing
- Use copper or stainless repair hooks
- Log all repairs for future planning
Conclusion
Soft slate roofing combines lasting beauty with flexible detailing when you respect its design limits and follow proven installation steps.
By planning pitch, drainage, and substrates carefully, then inspecting and maintaining regularly, you can achieve a roof that protects and enhances your building for decades.
Frequently Asked Questions about Soft slate
1. How long does a soft slate roof last?
With good design, skilled installation, and regular care, many soft slate roofs can last 40–70 years, depending on climate and slate quality.
2. Can I walk on a soft slate roof?
Direct walking can crack slates. Use roof boards, distribute weight, and, where possible, inspect from ladders or aerial devices instead.
3. Is soft slate suitable for low‑slope roofs?
Soft slate performs best on steeper slopes. For low‑slope areas, consider membranes or metal roofing and tie them neatly into the slate.
4. How often should I inspect a soft slate roof?
Inspect at least once a year and after major storms. Look for slipped, cracked, or missing slates and blocked gutters or valleys.
 Privacy settings