

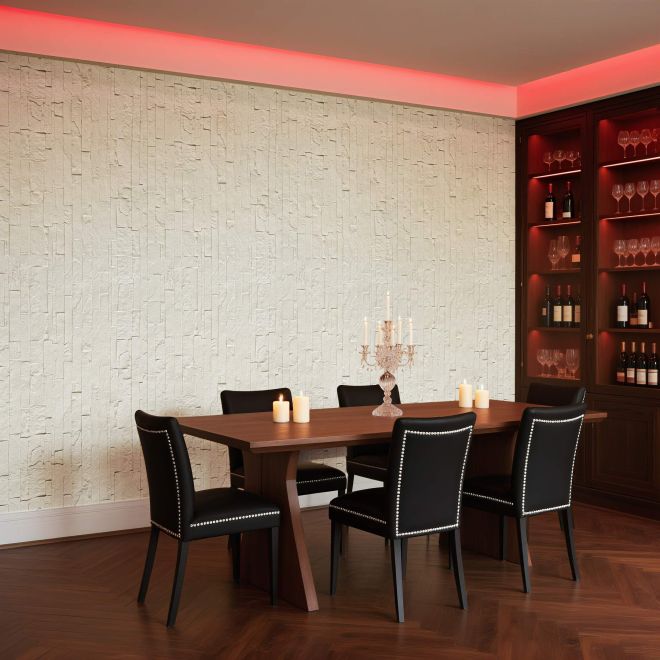
 一、 Preliminary preparation: grassroots treatment and material preparation
1. Grassroots treatment: The grassroots should be flat, dry, and free of hollowing. First, use a ruler to check. Polish the protrusions with sandpaper and fill the depressions with specialized leveling mortar; If there is oil stains or floating dust on the base layer, it needs to be wiped with a neutral cleaning agent mixed with clean water, and construction can only be carried out after it is completely dry.
2. Material preparation: Check the specifications, color, and texture of the soft porcelain in advance to ensure consistency with the design; Prepare specialized adhesive, toothed scraper (selected according to the thickness of the soft porcelain), cutting knife, level gauge and other tools to avoid temporary replacement of tools during construction that may affect accuracy.
二、 Adhesive blending: proportion and condition are key
Add water according to the adhesive instructions, usually with a powder to water ratio of 4:1 (weight ratio), and stir with an electric mixer for 3-5 minutes to ensure no clumping; After stirring, let it stand for 5 minutes and stir evenly again before use. Note that the adhesive should be used up within 2 hours to avoid solidification failure; If the adhesive becomes thicker midway, no additional water should be added and it should be discarded directly to prevent a decrease in bonding strength.
三、 Soft porcelain tiling: precise operation of anti-aircraft drum
1. Adhesive coating and positioning: Use a toothed scraper to evenly apply the adhesive to the base layer, forming continuous toothed stripes. At the same time, apply a thin layer of adhesive (with a thickness of about 1mm) on the back of the soft porcelain to achieve "double-sided adhesive coating" and reduce the probability of hollowing.
2. Laying and adjustment: Lay the soft porcelain according to the pre drawn reference line, gently tap the surface of the soft porcelain with a rubber hammer to ensure that the adhesive is fully in contact; During the laying process, use a level to calibrate in real time to avoid tilting; Leave a gap of 2mm-3mm between adjacent soft ceramics to prevent cracking caused by thermal expansion and contraction.
四、 Maintenance and stitching: ensuring long-term stability
1. Maintenance: After the tiling is completed, avoid touching the soft porcelain within 24 hours, and do not sprinkle water or expose to direct sunlight within 72 hours to allow the adhesive to naturally cure; If the ambient temperature is below 5 ℃, insulation measures should be taken to prevent the adhesive from freezing and thawing and becoming ineffective.
2. Sewing: After the maintenance is completed, clean the dust and residual adhesive in the gap, use a sewing agent that matches the color of the soft porcelain, and evenly inject it into the gap with a sewing gun. After the sewing agent solidifies (usually 24 hours), use a scraper to clean the excess part to ensure that the gap is smooth and beautiful.
五、 Acceptance criteria: Quality visible in details
During acceptance inspection, three key points should be checked: firstly, there should be no hollowing. Use a small hammer to lightly tap the surface of the soft porcelain, and the hollowing rate should be ≤ 5% (the hollowing area of a single soft porcelain piece should not exceed 10%); Secondly, it should be flat and straight, with a ruler used to check the flatness error of the soft porcelain surface ≤ 2mm, and the straightness error of the gap ≤ 3mm. Thirdly, it should be undamaged, with no scratches, missing corners, color difference on the soft porcelain surface, and no peeling or cracking of the beautiful seams. If it meets the above standards, it is qualified for installation.
 Privacy settings